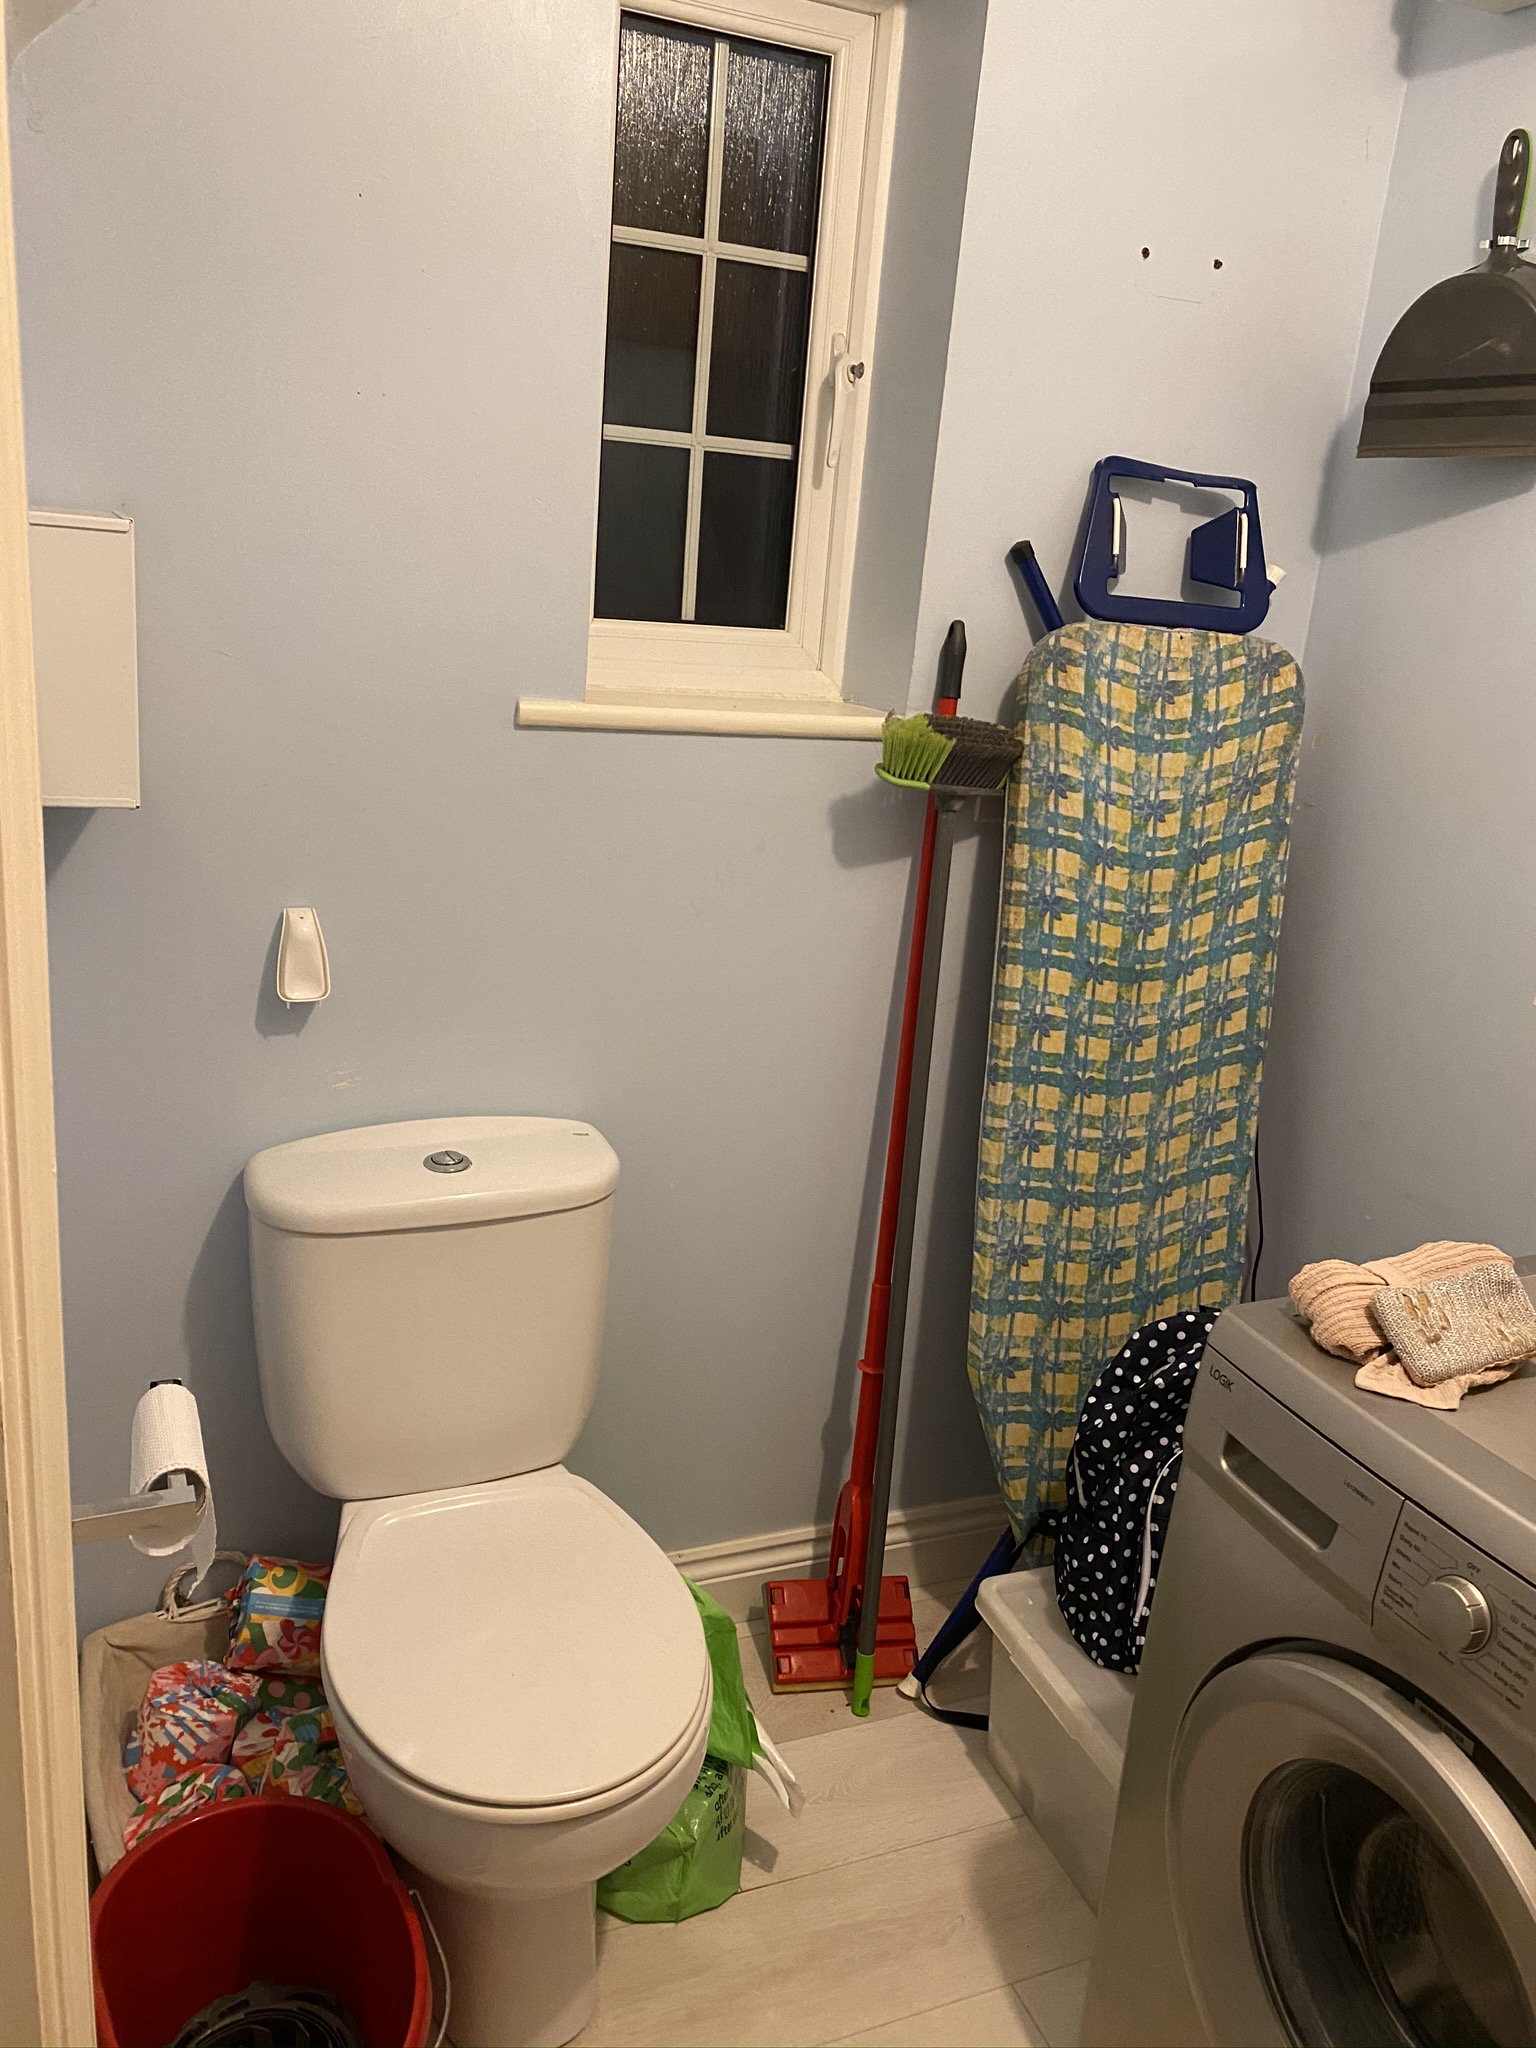
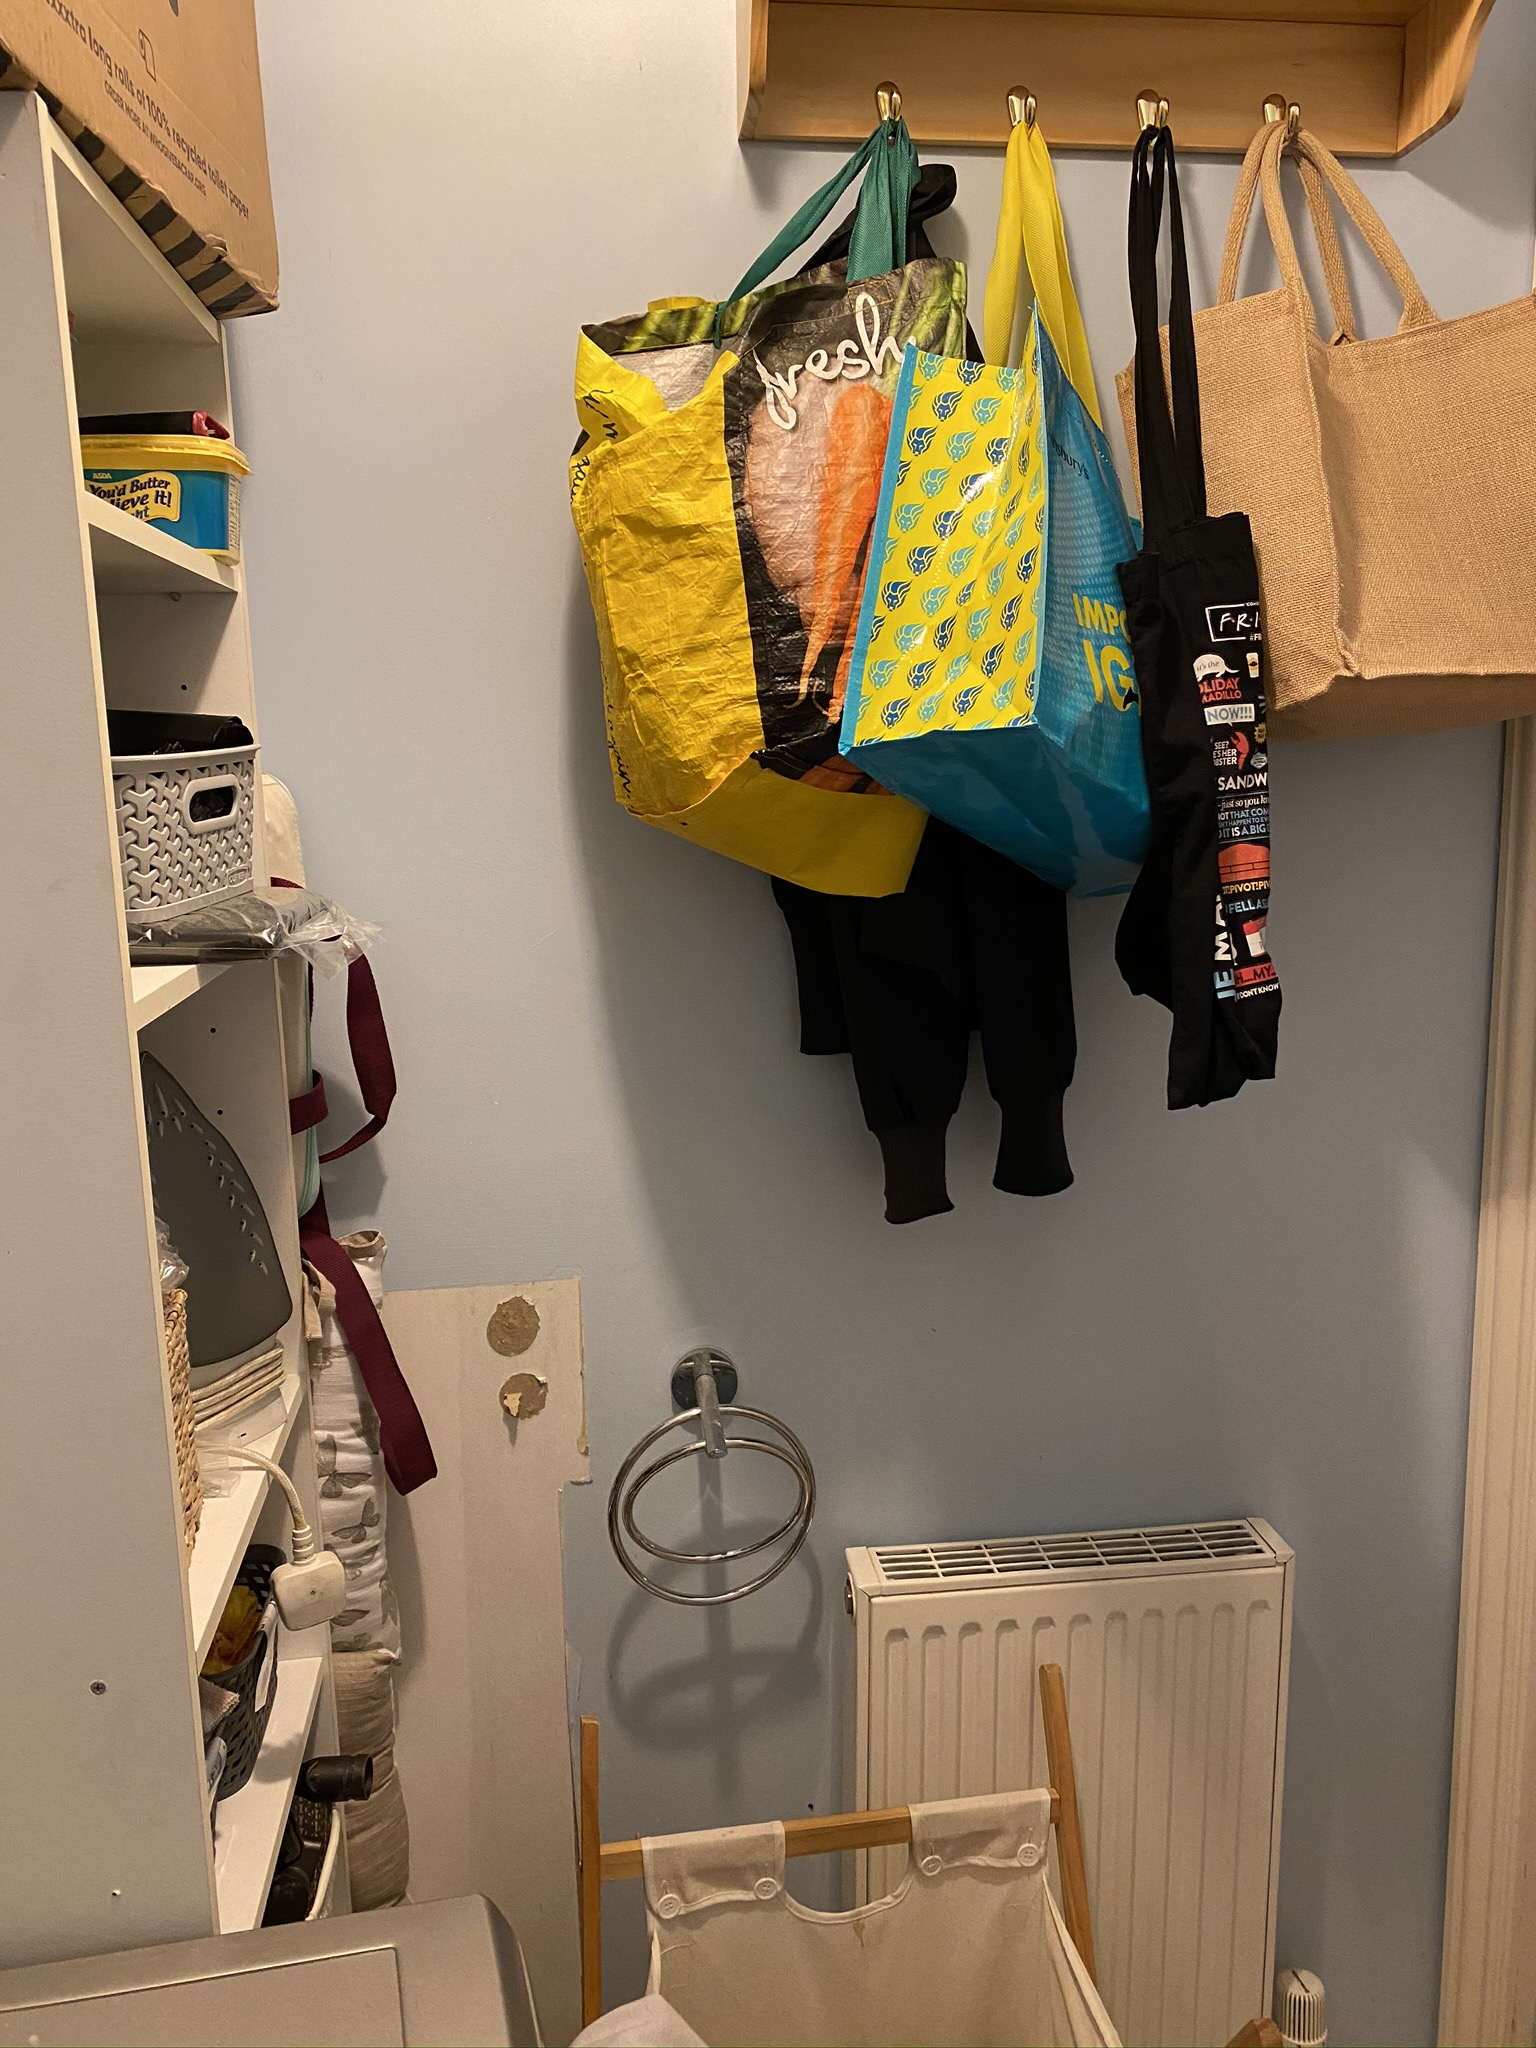
Technically, this started back in February 2020 when we had our kitchen done. When they were ripping out the old kitchen, we asked them to rip out the units in the utility room as well, and lay the same flooring we were having laid throughout the rest of the ground floor. It then sat – looking a complete mess – for the best part of a year. We quietly closed the door on it in those brief moments when we’ve been allowed guests round and resolved to get to it at a later date. Hitting the point felt like a bit of a milestone because it was always low on the list of priorities; we’ve made it that far down the list!

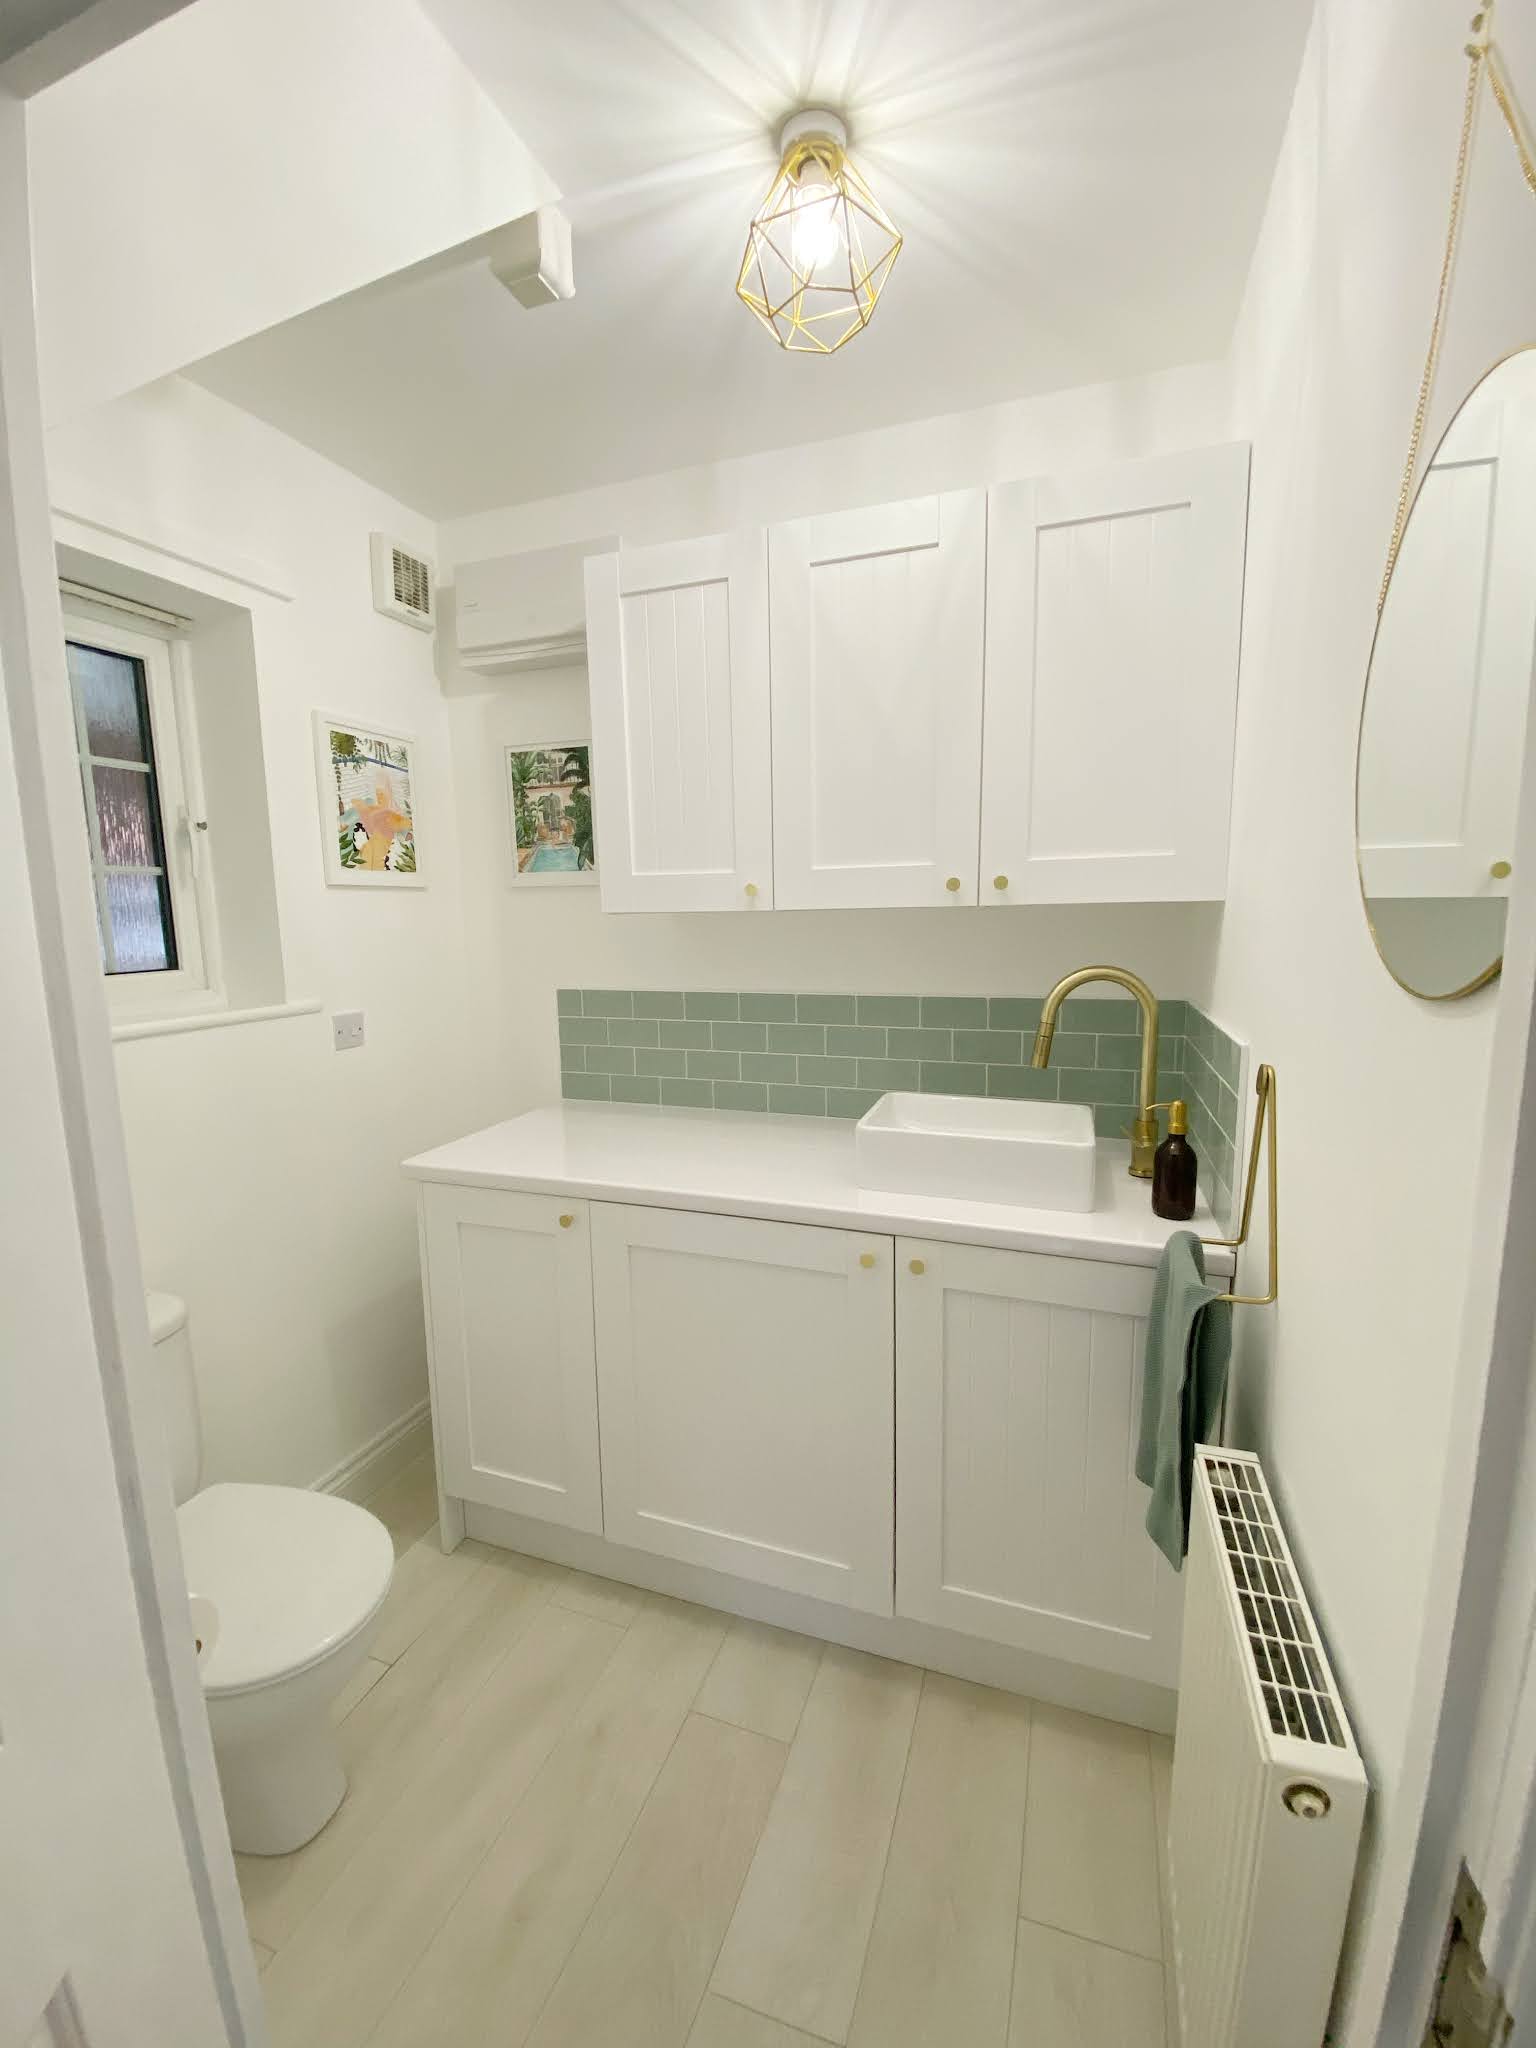
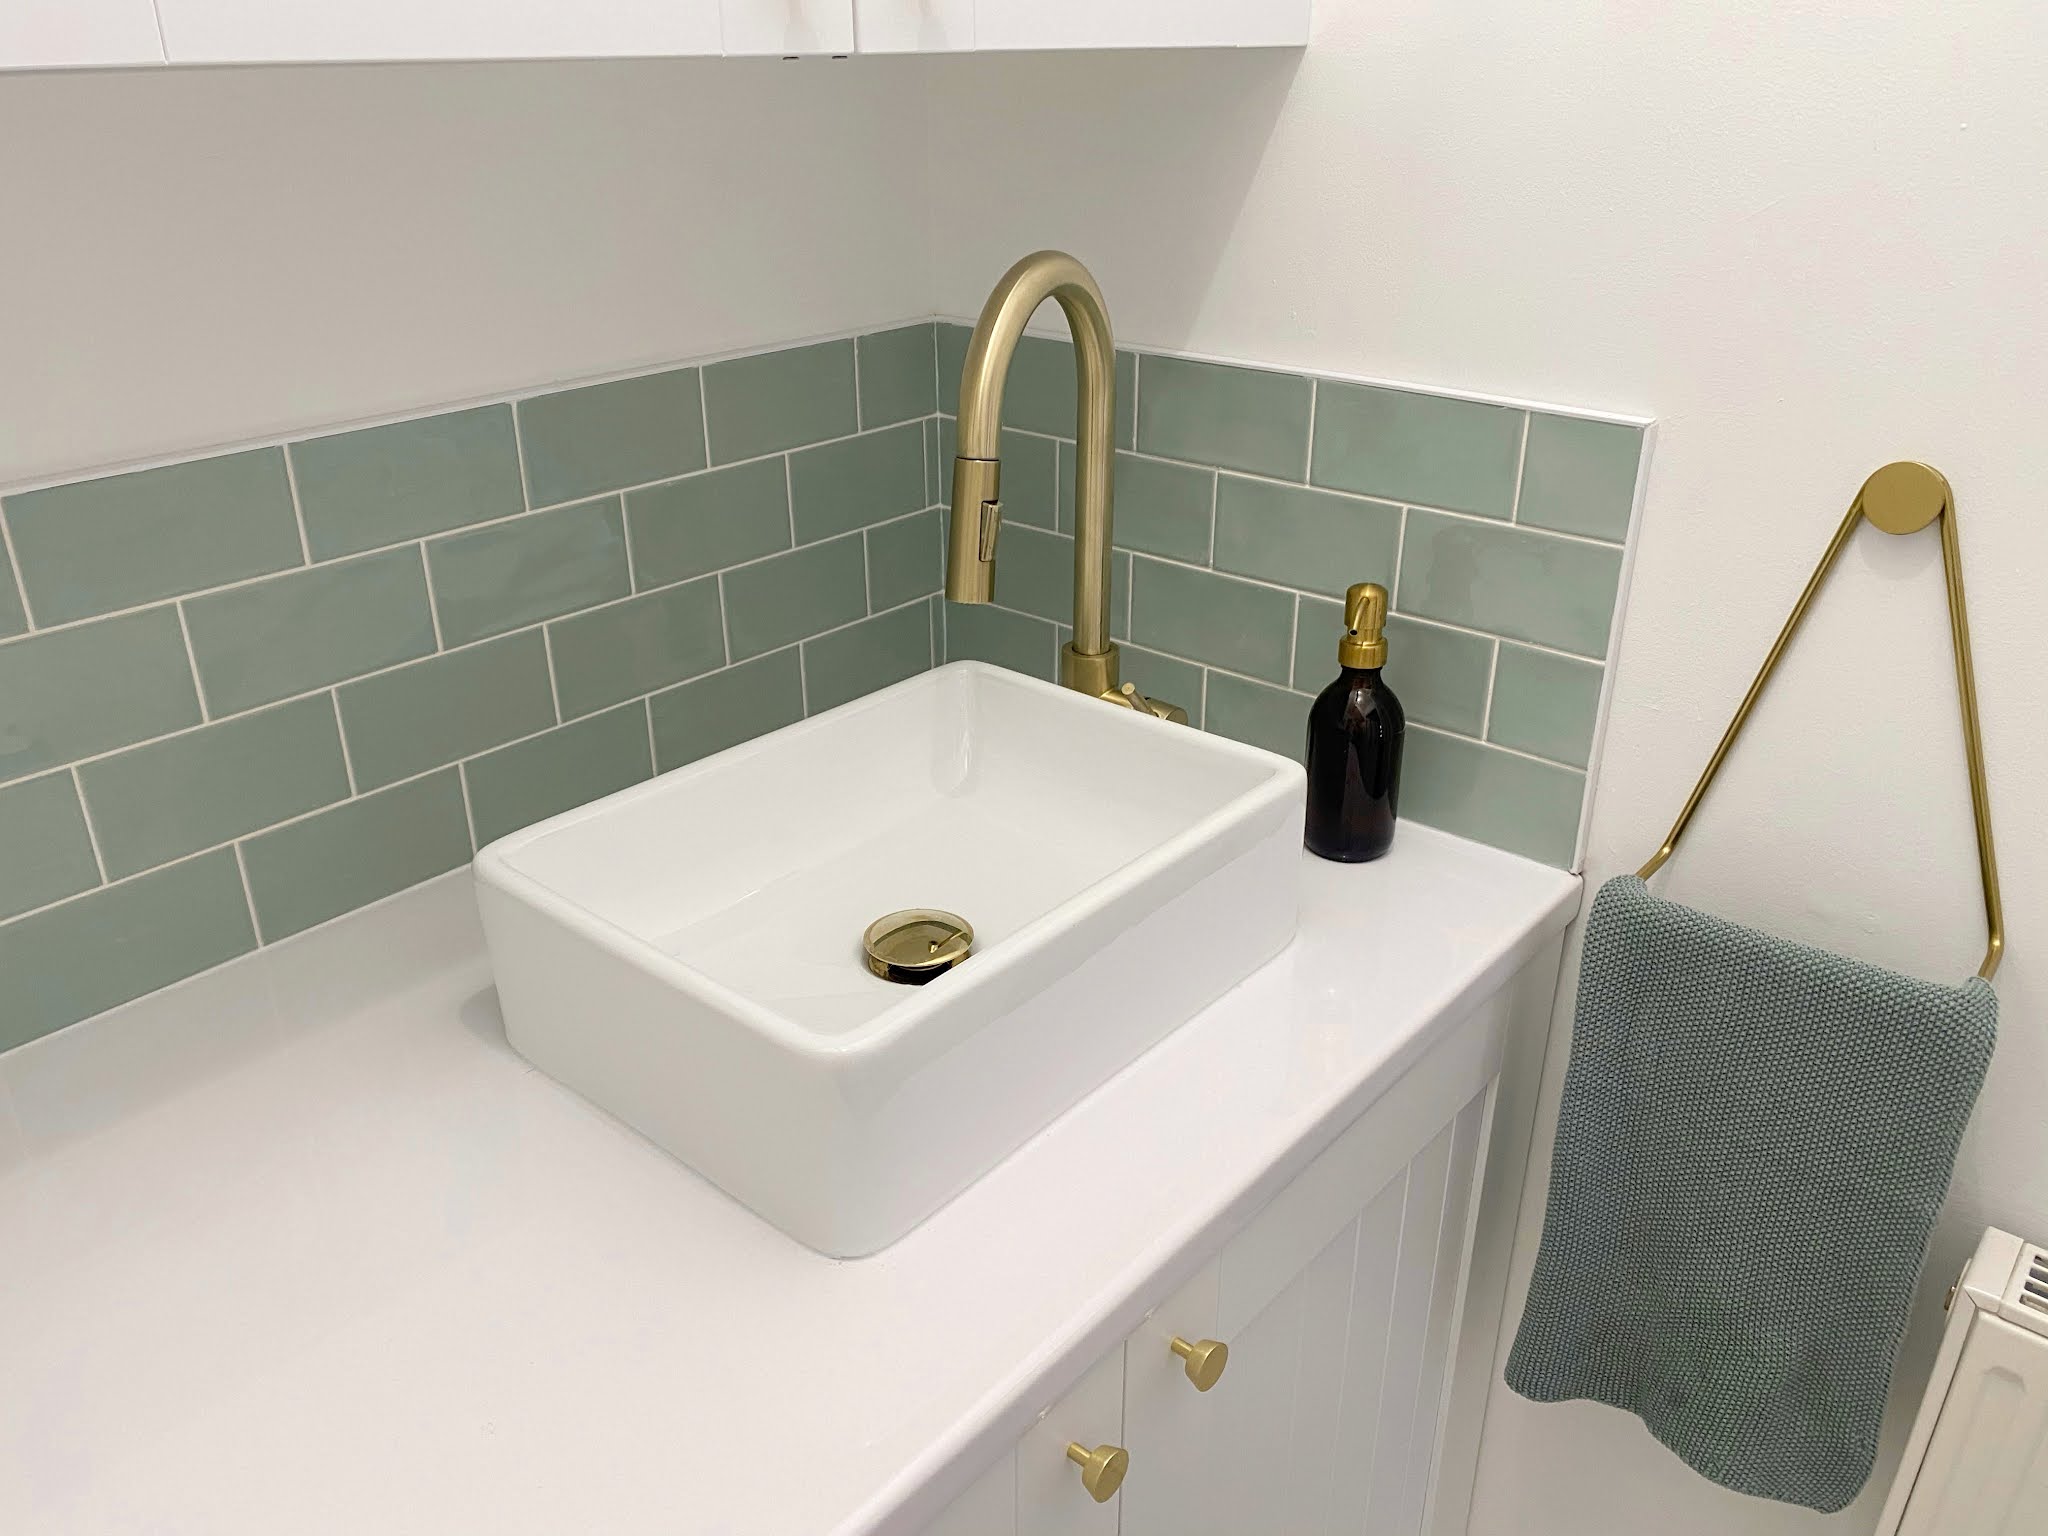
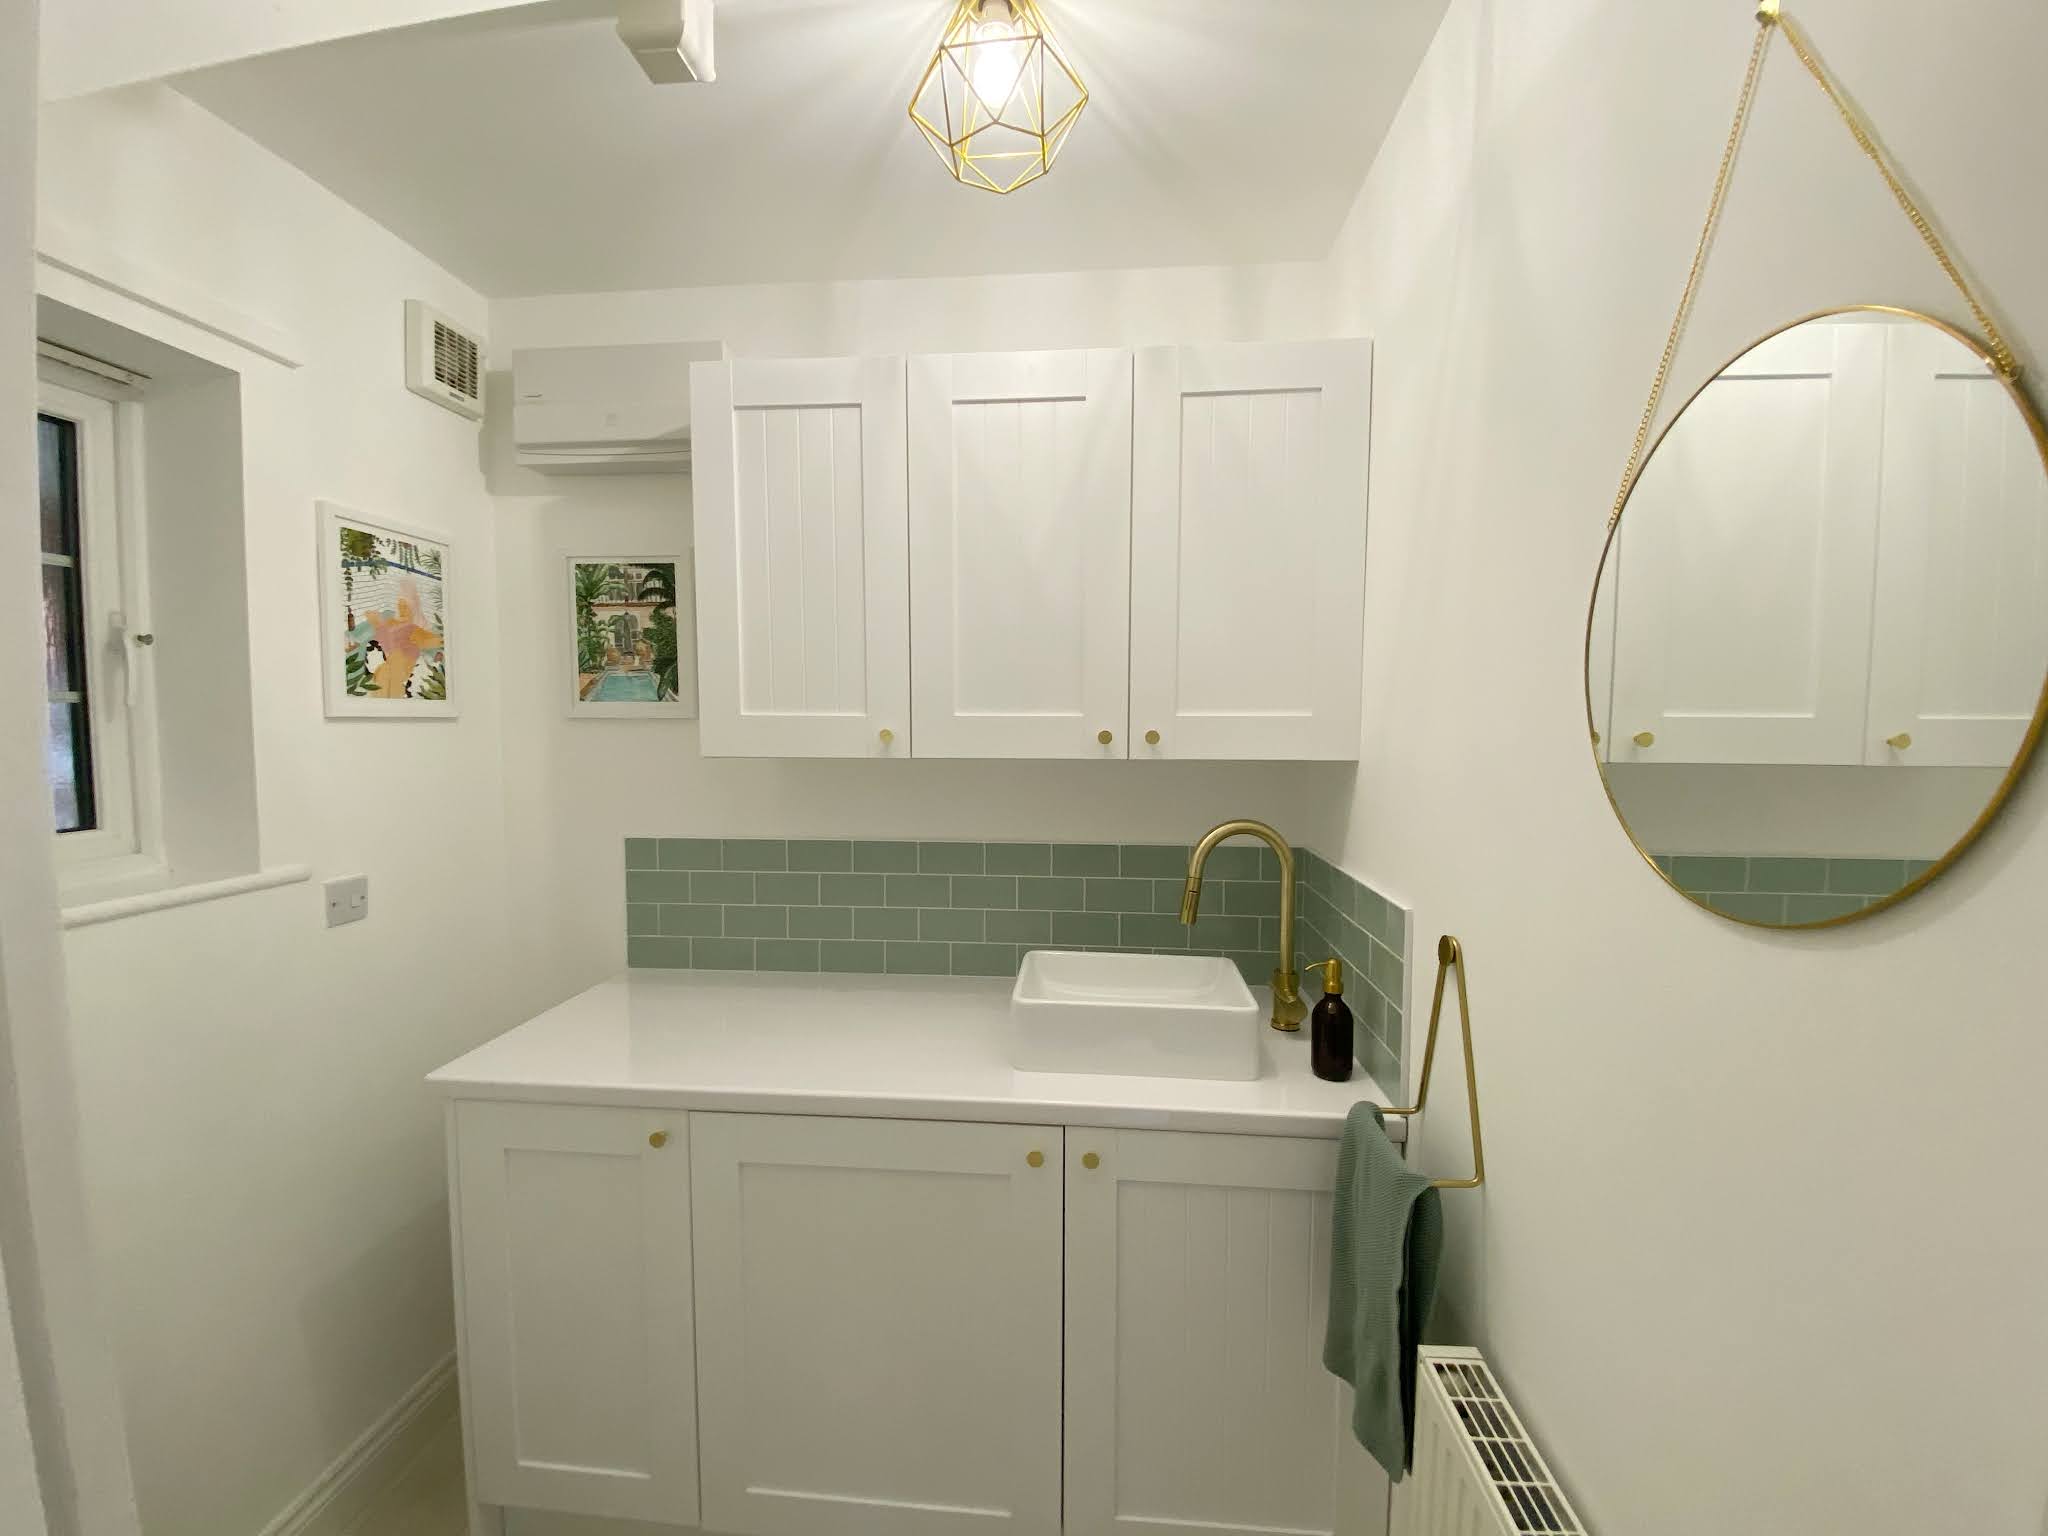
The image in my head was white and bright with splashes of gold & green whilst not losing any practical elements and keeping it all as cheap as possible. By chance, we had an almost perfect amount of white worktop left over from our kitchen renovation so that was our starting point. We hunted out cheap-but-nice kitchen units (including one for an integrated washing machine) which Gary eventually found in B&Q (one of their cheapest options but I don’t think you’d know) and I went on the hunt for gold door handles and pastel green tiles. I had images of a counter sink which, again, we managed to find pretty cheap and we spent far too long trying to hunt out a decent gold tap, eventually settling on one with a pull-out hose as we thought it could be handy with future kids/pets (countertop and tiles look pretty but are also easily wipeable).
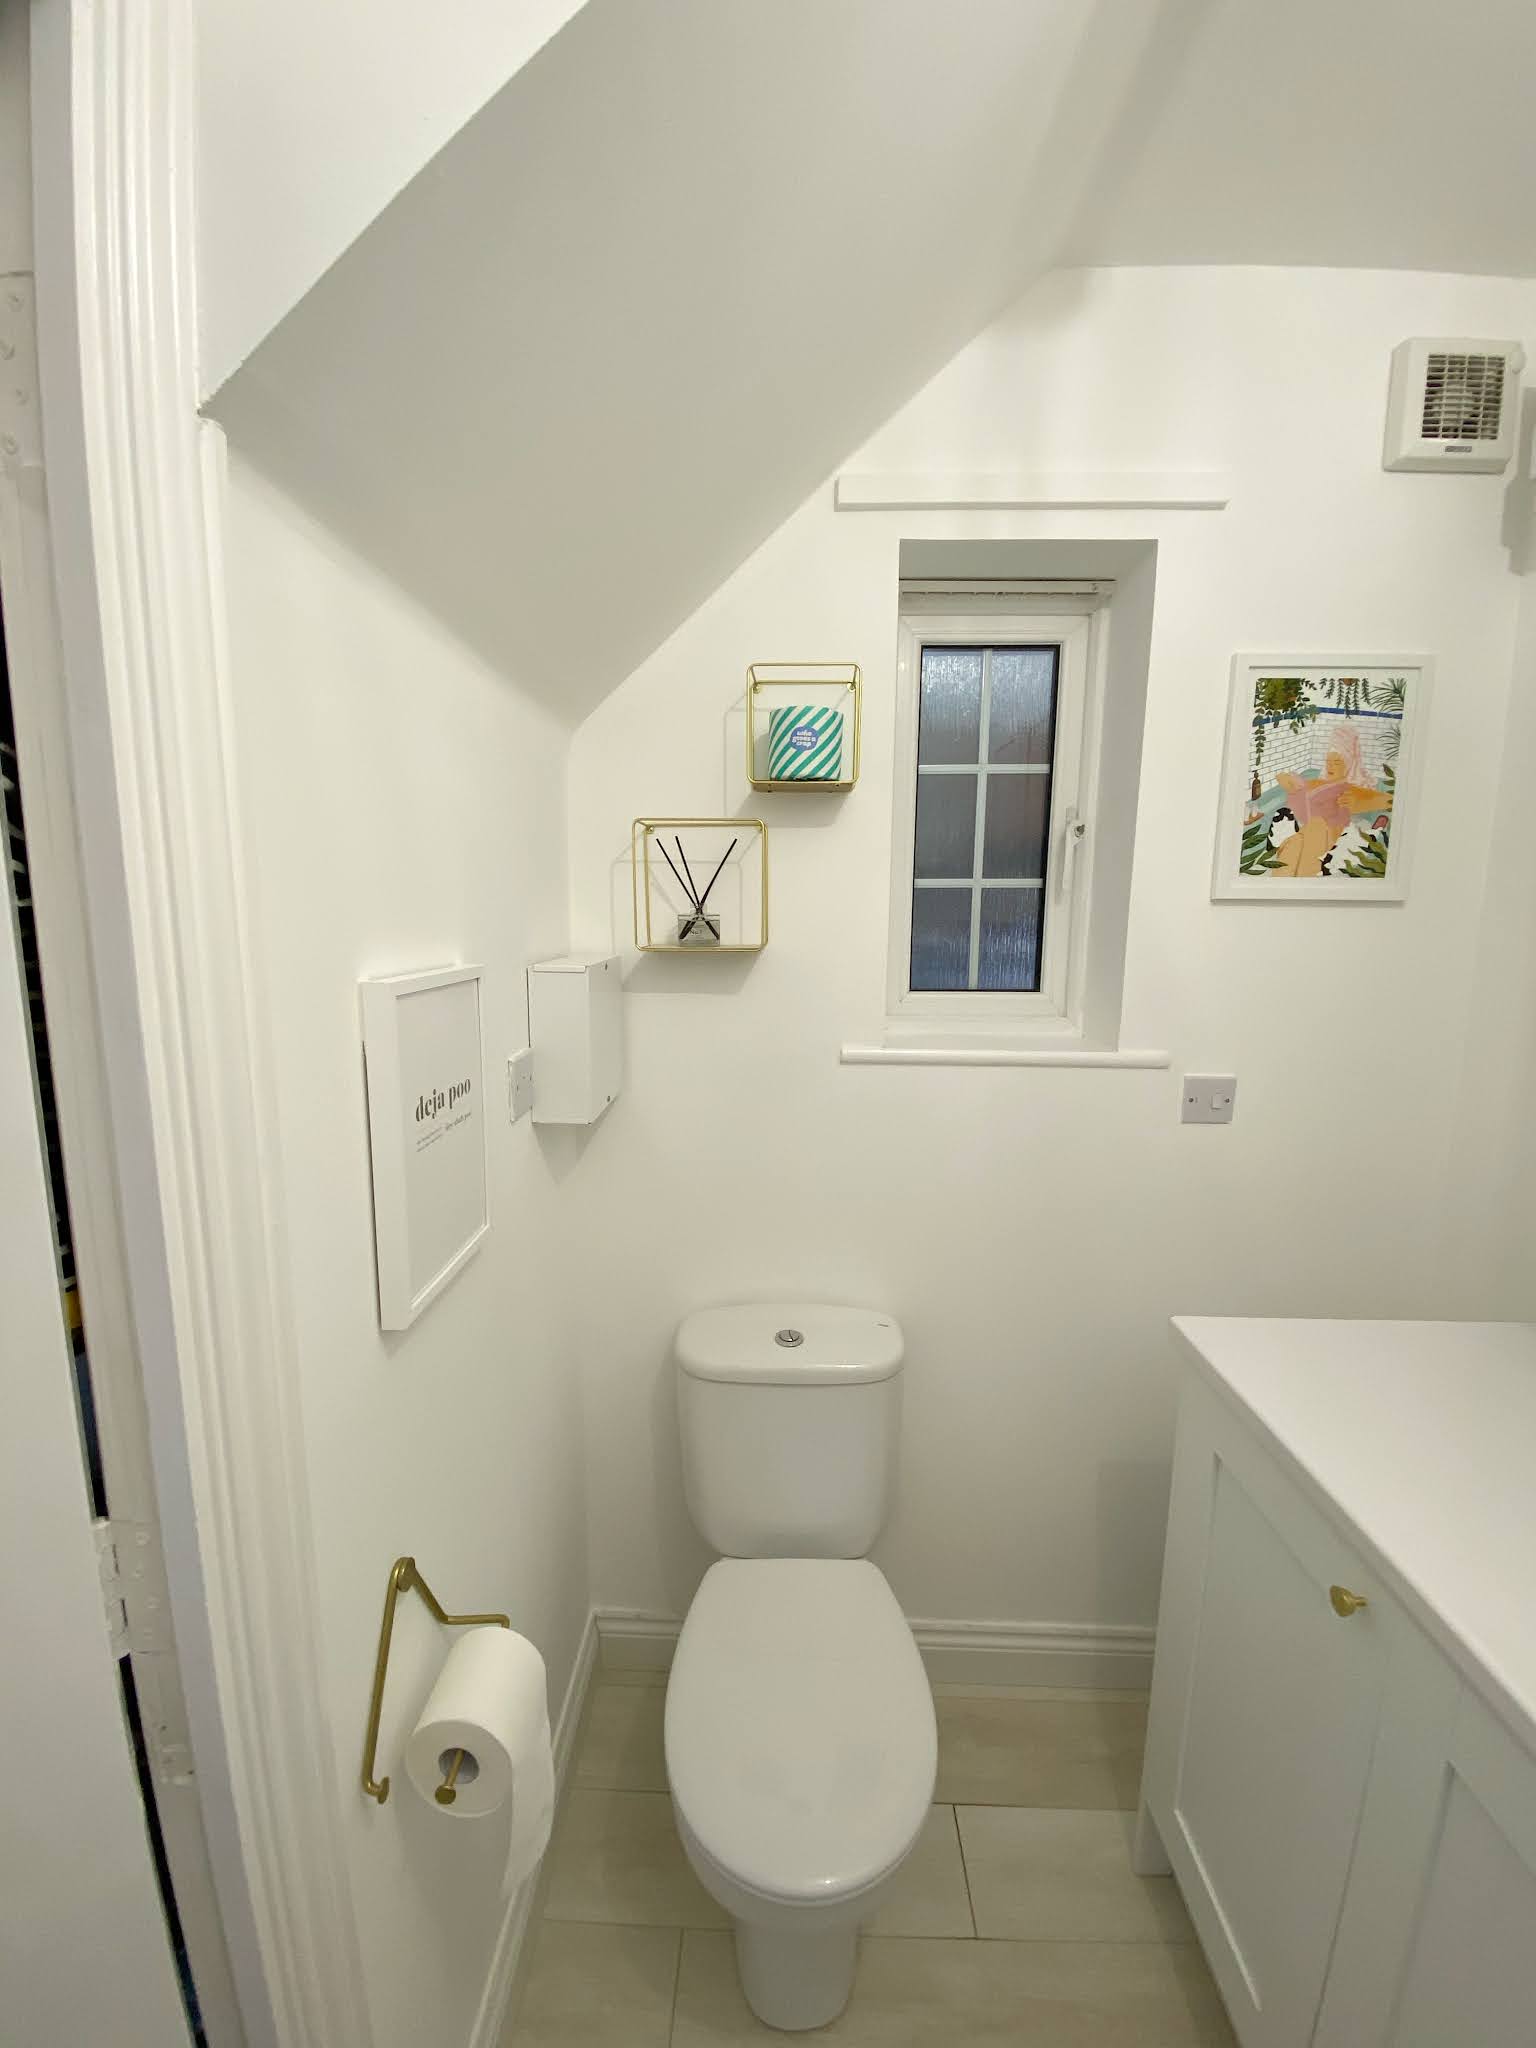
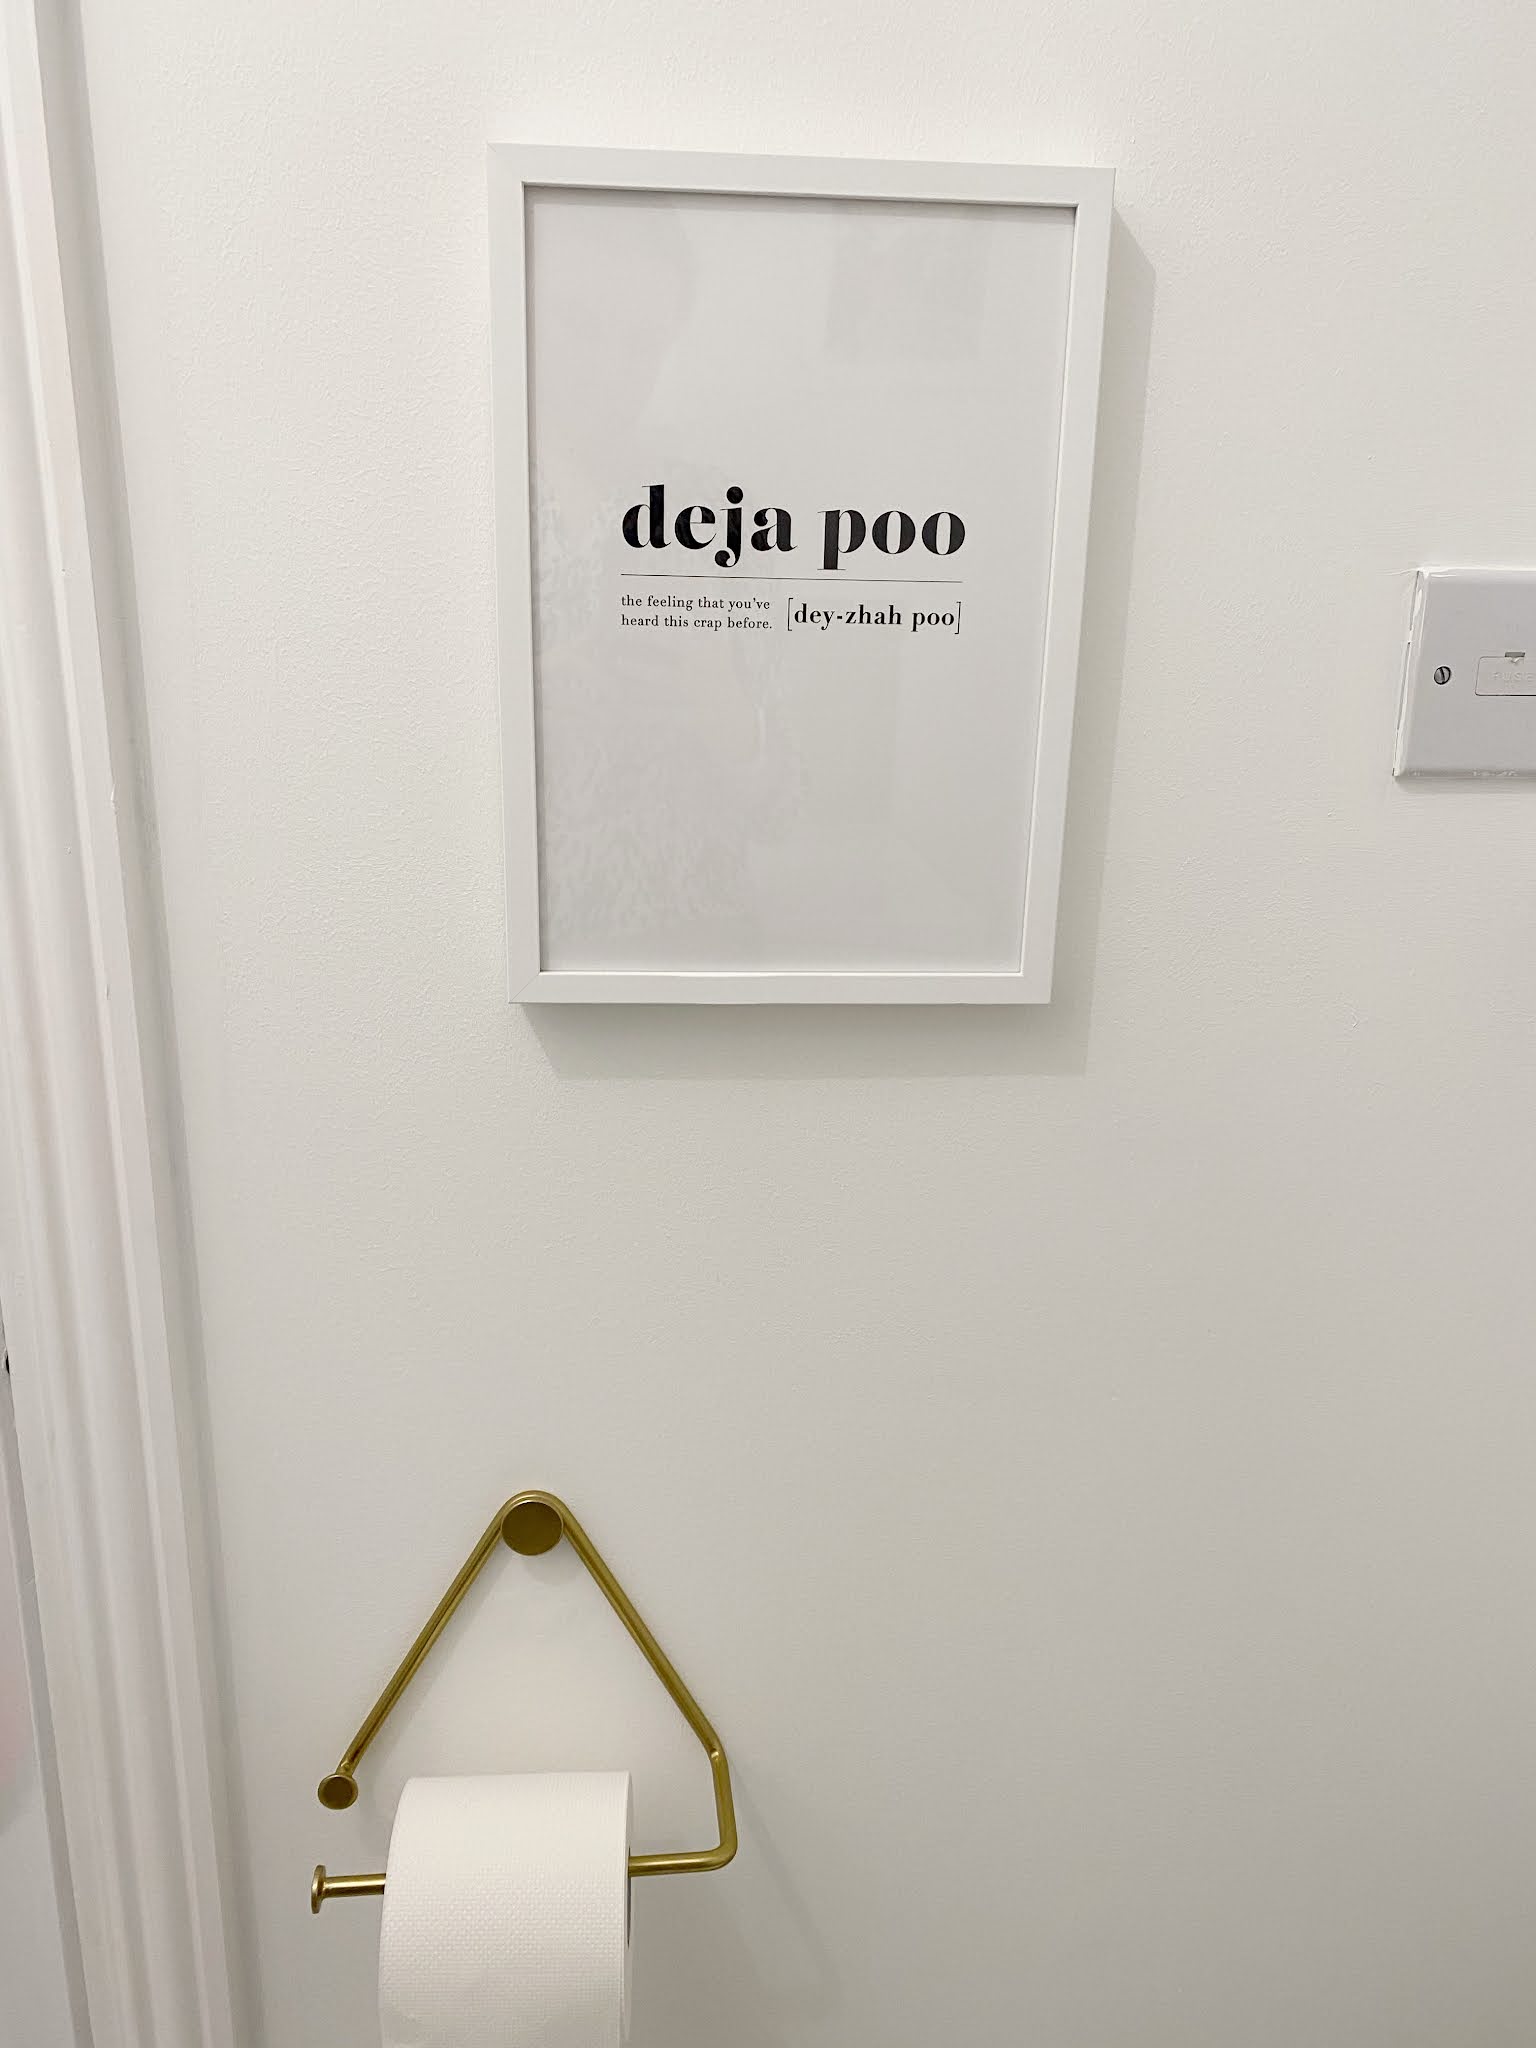
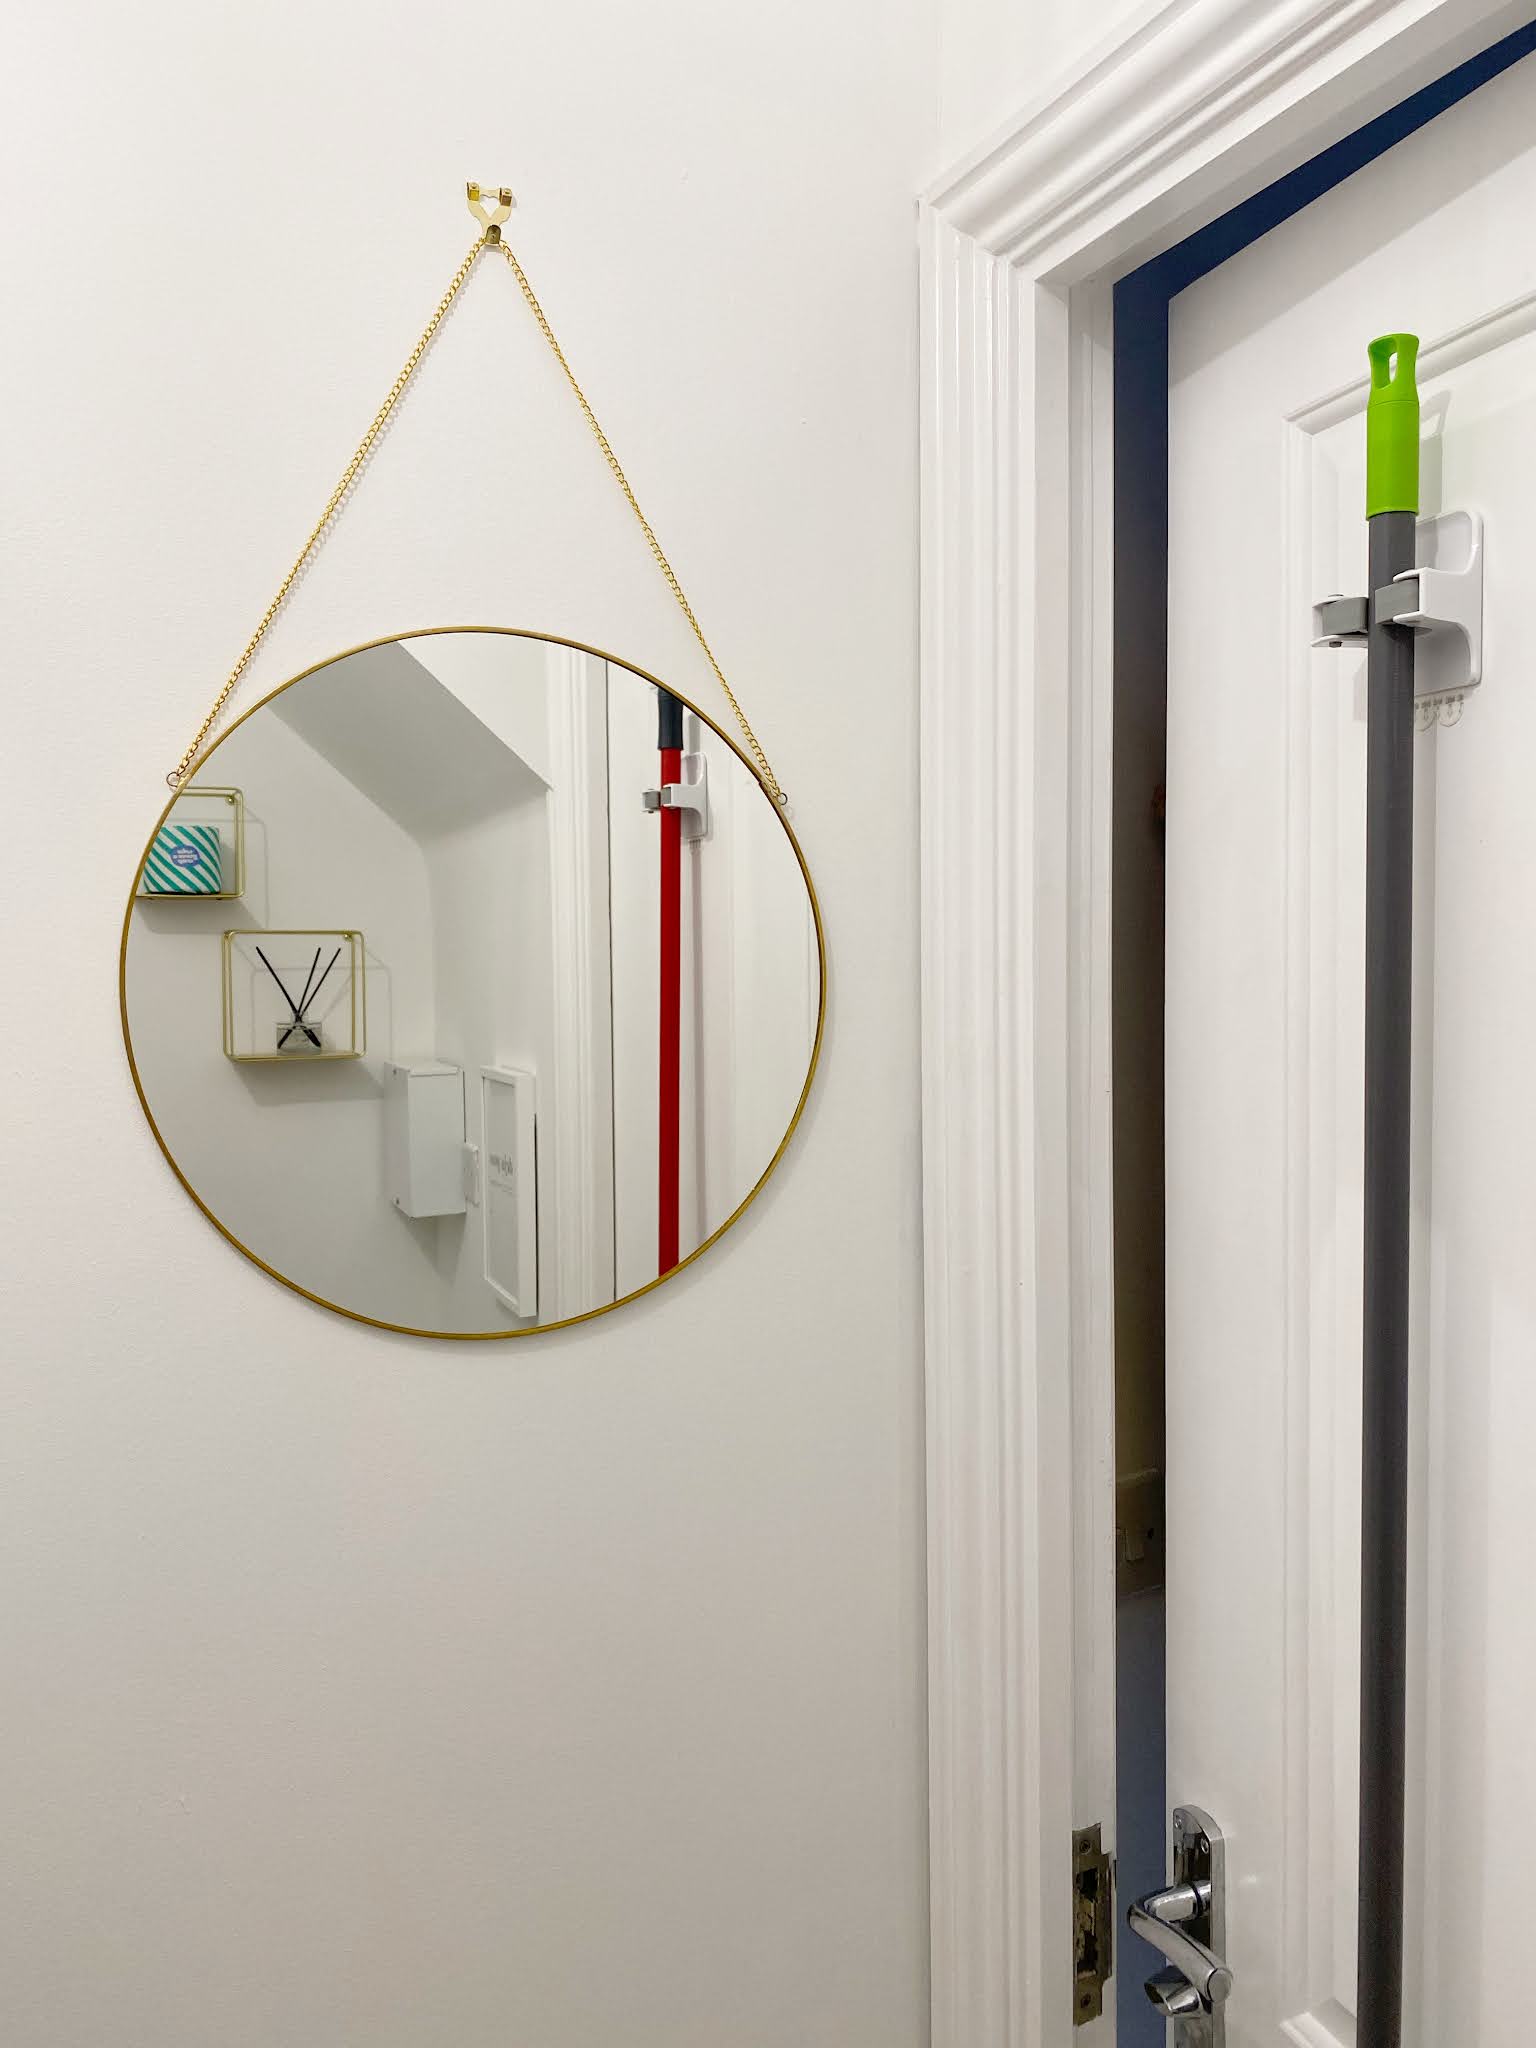
Gary did all of the installing and I will never not be impressed at the way this man can just start sorting the plumbing and tiling like it’s no big deal. I, meanwhile, focused on the finer details (we both work to our strengths), sourcing out a matching green hand towel, gold towel & toilet roll holders and artwork for the walls (including a round gold Oliver Bonas mirror which I love). We got two command broom grippers to go on the back of the door for our broom & mop and there’s just enough of a gap down the side of the units to squeeze in our small hoover and collapsible washing basket. I sourced a daylight-like bulb and an open ‘lampshade’ (again, gold) to try and bring in as much light as possible whilst Gary painted the room white. It definitely doesn’t feel dingy!
All in all, we love it and I like how it feels like a nice surprise every time I walk in and remember that it’s actually a pleasant place to be in rather than a windowless necessity of a room!








Thanks for sharing, you have done a great job with this space, it looks lovely :)
ReplyDeleteNic | Nic's Adventures & Bakes
Shades don’t fade in sunlight. custom window treatments
ReplyDeleteTruly the best builders around. Issaquah WA
ReplyDeleteSkilled builders balance design and function. bluffton builders
ReplyDelete